
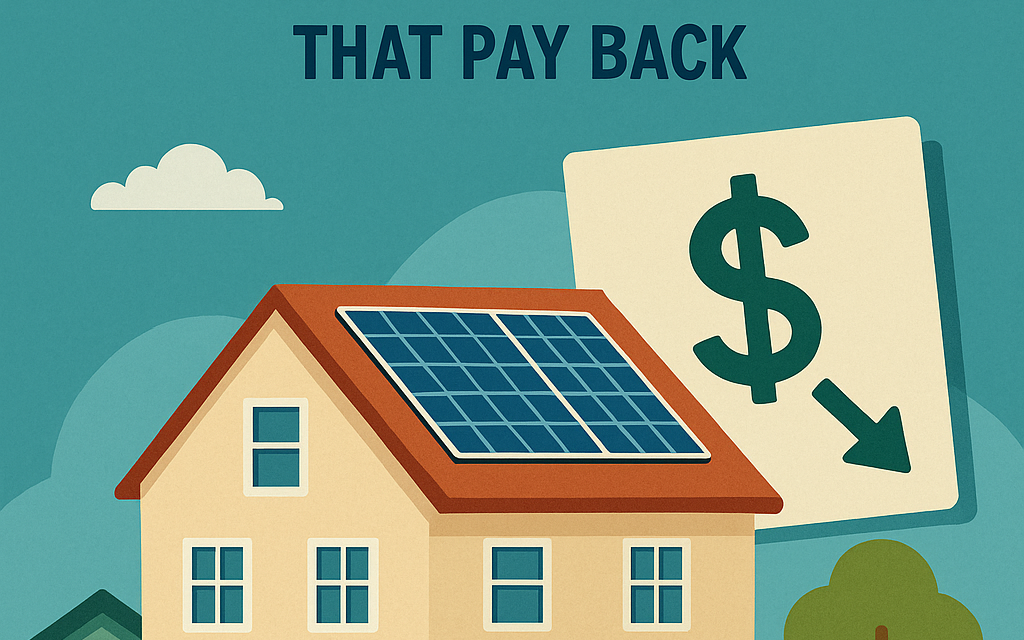
Slash Your Energy Bill: 12 Frugal Home Upgrades That Pay Back
Real‑world, low-cost improvements you can install in a weekend that keep more cash in your pocket every month.
Budget: $10–$200 each
U.S. prices as of December 2025
Before you start: target the biggest leaks
- Walk your home on a breezy day with a stick of incense or a tissue to spot drafts around windows, doors, outlets, and the attic hatch.
- Note run times for heating/cooling and water heating—these are usually your top energy users.
- Pick projects with payback under 2 years first; most below meet that mark in typical U.S. homes.
- Safety: cut power at the breaker for any electrical work; wear gloves/eye protection for insulation and foam.
The 12 frugal upgrades that pay back
1) Swap to LED bulbs everywhere you still have incandescents
Modern LEDs use ~75–85% less electricity and last years. Prioritize high‑use fixtures: kitchens, living rooms, exterior lights with long runtimes.
- Choose the right base and brightness (e.g., 800 lumens ≈ old 60W).
- Pick 2700K–3000K for warm spaces, 4000K+ for task areas.
- For dimmers, buy “dimmable” LEDs and, if flicker occurs, replace the dimmer with an LED‑compatible model.
2) Smart or advanced power strips for TVs, consoles, and office gear
Electronics sip power even when “off.” Advanced strips shut peripherals when the main device turns off; smart plugs schedule or measure usage.
- Home office: tie monitors/printers to the computer as the control device.
- Media center: TV as control; auto‑cut power to soundbar, consoles.
- Use app schedules for routers, lamps, or holiday lights.
3) Weatherstrip exterior doors and add door sweeps
Gaps around doors are draft highways. Self‑adhesive foam or V‑seal plus a quality sweep blocks conditioned air from escaping.
- Shut a strip of paper in the door; if it slides easily, you need new weatherstripping.
- Adjust strike plates/hinges before adding thick foam to ensure latch alignment.
4) Seal air leaks with caulk and minimally expanding foam
Air sealing is often the highest‑ROI DIY. Target gaps at window/trim, baseboards, plumbing/electrical penetrations, and rim joists.
- Use paintable latex caulk for interior trim; silicone for wet areas; fire‑block foam near flues (observe clearances).
- Foam small attic/basement penetrations; cap with mineral wool where heat‑tolerant fill is needed.
5) Insulate exposed hot‑water pipes
Pre‑slit foam sleeves keep water hotter, shorten wait times, and reduce water‑heating runtime.
- Prioritize the first 3–6 feet from the water heater and any long runs to kitchens/baths.
- Tape seams/elbows; keep 6 inches clearance from gas appliance vents.
6) Install low‑flow showerheads and faucet aerators
Cut hot‑water use without sacrificing comfort; many “1.5–2.0 gpm” showerheads feel great due to pressure‑compensating design.
- Wrap threads with Teflon tape; remove old flow restrictors only if pressure is unusually low.
- Kitchen/bath faucets: 1.0–1.5 gpm aerators suit most homes.
7) Set water‑heater temp to 120°F and add a tank blanket if needed
Most homes don’t need 140°F. Lowering to 120°F reduces standby and scald risk; older electric tanks benefit from an insulation wrap.
- Gas units: do not cover top, bottom, controls, or exhaust; keep clearances per label.
- Test fixtures after adjusting; dishwashers with internal boosters are fine at 120°F.
8) Window insulation film or rope caulk on drafty windows
Clear shrink film creates an extra air layer; rope caulk seals seasonal gaps without residue.
- Clean frames, apply tape, warm gently with a hair dryer to tighten film.
- Use rope caulk at sashes and meeting rails; remove in spring.
9) Thermal/blackout curtains and blinds
Insulated curtains cut heat loss in winter and heat gain in summer; they also improve comfort and privacy.
- Mount rods to cover the frame fully; close at dusk in winter, midday in summer on sun‑facing sides.
- Pair with reflective blinds for hot climates.
10) Install a programmable thermostat (or basic smart model)
Automatic setbacks save heating and cooling energy without daily fuss. Even simple 5‑2 programmable units deliver most of the benefit.
- Typical schedules: winter 68°F occupied / 62–64°F sleep/away; summer 76–78°F occupied / 82–85°F away.
- Turn off power, label wires, and verify a C‑wire for smart models.
11) Seal the attic hatch and add outlet/switch gaskets
The attic access and electrical boxes on exterior walls leak a surprising amount of air. Foam gaskets and a weatherstripped, insulated hatch fix it fast.
- Apply adhesive weatherstrip to the hatch perimeter; glue rigid foam to the hatch panel.
- Install child‑safe gasketed covers on outlets if desired.
12) Seal accessible ductwork with mastic and foil tape
Leaky ducts waste conditioned air into attics and crawlspaces. Sealing boosts comfort and system efficiency.
- Use water‑based mastic or UL‑181 foil tape (never cloth “duct tape”).
- Focus on joints at the air handler, plenums, and take‑offs you can safely reach.
Quick wins if you only have an hour
- Replace the five most‑used bulbs with LEDs.
- Drop your water‑heater to 120°F.
- Install a low‑flow showerhead.
- Weatherstrip the draftiest door.
- Add pipe insulation on the first 6 feet from the heater.
- Program basic thermostat setbacks.
A simple seasonal plan
Spring (Mar–May): air‑sealing trim/baseboards, pipe insulation, outlet gaskets.
Summer (Jun–Aug): thermal curtains, smart/advanced power strips, HVAC filter changes monthly.
Fall (Sep–Nov): revisit door sweeps, re‑caulk exterior gaps, test heat and adjust schedules.
How to estimate your payback
Use this quick math to sanity‑check ROI for your home and rates:
- Annual savings ($) ≈ annual kWh or therms saved × your utility rate.
- Simple payback (years) = project cost ÷ annual savings.
- If payback ≤ 2 years, it’s usually a yes; if 2–4 years, prioritize comfort too.
Note: Costs above reflect typical U.S. big‑box prices as of December 2025; your rates and climate will affect results.
Don’t miss rebates and freebies
- Utility programs often provide free LED bulbs, smart strips, showerheads, and thermostat discounts.
- Some states offer bonus rebates for weatherization supplies or home energy assessments.
- Ask for a low‑income program if applicable—benefits can be significant.
FAQ
Will these upgrades work in rentals?
Yes—most are reversible: LEDs, smart plugs, showerheads, outlet gaskets, window film, and door sweeps. Keep the originals to reinstall when you move.
What about ceiling fans?
Fans don’t cool air; they cool people. Use in occupied rooms only, blades set to push air down in summer and draw up in winter, then turn off when you leave.
Is attic insulation “frugal”?
Blowing additional attic insulation can be under a few hundred dollars DIY and offers strong payback in many climates. If your current level is below R‑30, consider renting a blower with a friend and tackling it—just wear PPE and seal big air leaks first.
How often should I change HVAC filters?
Check monthly; replace every 1–3 months depending on dust, pets, and filter type. A clogged filter increases runtime and energy use.
Bottom line
Start with the cheapest, fastest projects—LEDs, thermostat schedules, weatherstripping, and hot‑water tweaks—then move to air sealing and duct work. Most households see noticeable comfort gains and double‑digit percentage drops in energy use within the first season.


